- sales/support
Google Chat: zj734465502@gmail.com
- sales
+86-0755-88291180
- sales01
sales@spotpear.com
- sales02
dragon_manager@163.com
- support
tech-support@spotpear.com
- CEO-Complaints
zhoujie@spotpear.com
- sales/support
WhatsApp:13246739196
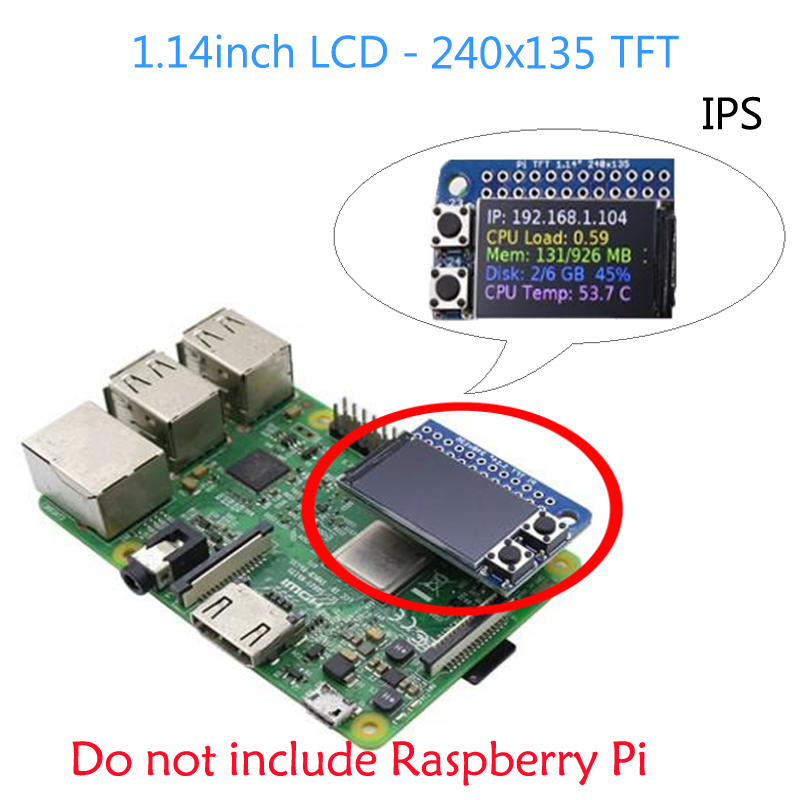
Raspberry Pi 1.14inch LCD Mini Pi TFT 240x135 User Guide
1.14inch LCD Mini Pi TFT 240x135
- The 240x135 Mini PiTFT is so small, its not a default-supported resolution for small TFTs. This technique will update your kernel to the latest, and if you upgrade your Raspberry Pi which replaces the kernel you'll need to re-run the instructions! You'll also need to re-run if you change from a Pi Zero / Pi 2 / Pi 3 / Pi 4 as these all use different kernel types.
There's two ways you can use the 240x135 display.
- Be aware that you can only choose to do one way at a time. If you choose the hard way, it will install the kernel driver, which will prevent you from doing it the easy way.
- The easy way is to use 'pure Python 3' and Pillow library to draw to the display from within Python. This is great for showing text, stats, images etc that you design yourself. If you want to do that, skip this page and go to the Python install/usage page
- The hard way is to install a kernel module to add support for the TFT display that will make the console appear on the display. This is cute because you can have any program print text or draw to the framebuffer (or, say, with pygame) and Linux will take care of displaying it for you. If you don't need the console or direct framebuffer access, please consider using the 'pure Python' technique instead as it is not as delicate.
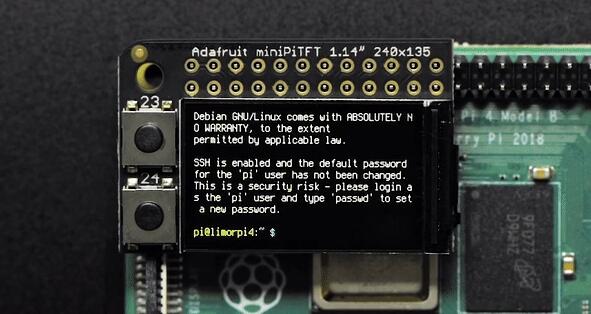
- You will not get a GUI/LXDE display, this is only for text console usage. The display is waaay too small for LXDE
Prepare the Pi!
- Before you begin, its a good idea to get your Pi completely updated and upgraded. We assume you have burned an SD card and can log into the console to install stuff.
Run
Download: file
- sudo apt update -y
- sudo apt-get update -y
- sudo apt-get upgrade -y
- To fully update and upgrade your Pi!
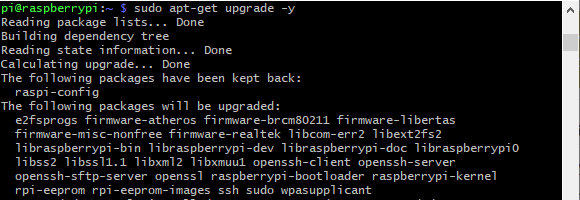
- After that is complete run
- sudo shutdown -h now
- to shutdown the Pi safely. Remove power and attach the miniPiTFT. Watch that the pins plug into the first 2x12 headers! The rounded corner and mounting hole should line up.
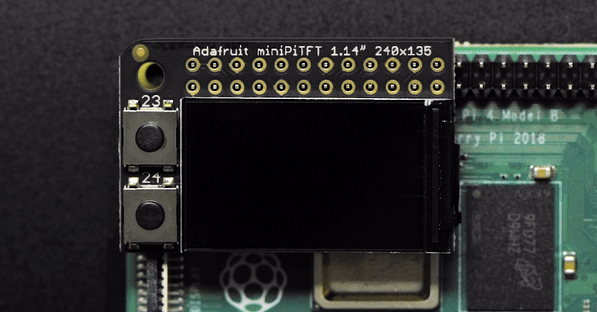
- Attach power to the Pi and re-log in. The PiTFT should be lit but nothing on the screen.
- Run the following at the terminal
Download: file
- cd ~
- sudo pip3 install --upgrade adafruit-python-shell click==7.0
- sudo apt-get install -y git
- git clone https://github.com/adafruit/Raspberry-Pi-Installer-Scripts.git
- cd Raspberry-Pi-Installer-Scripts
- sudo python3 adafruit-pitft.py --display=st7789_240x135 --rotation=90 --install-type=console
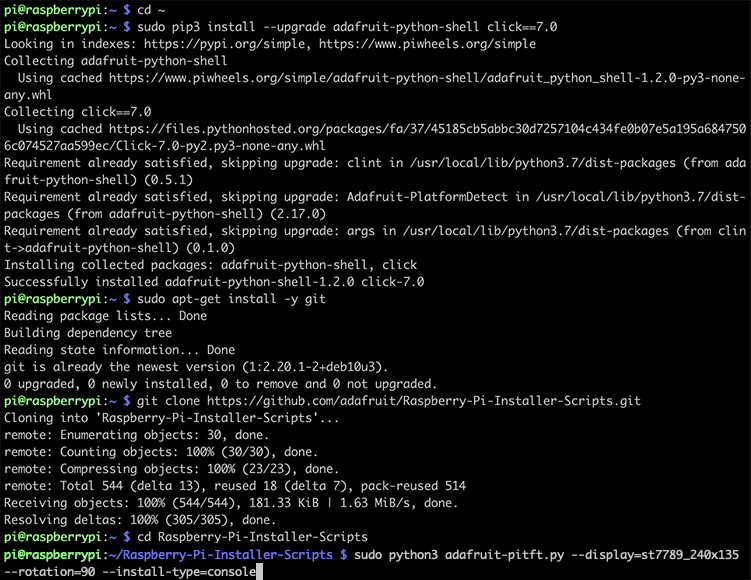
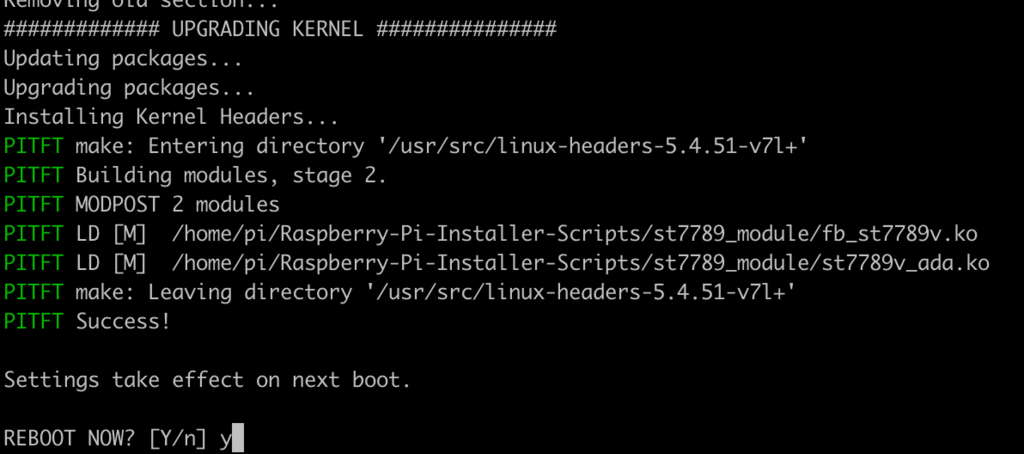
- When you get asked to reboot, reboot!
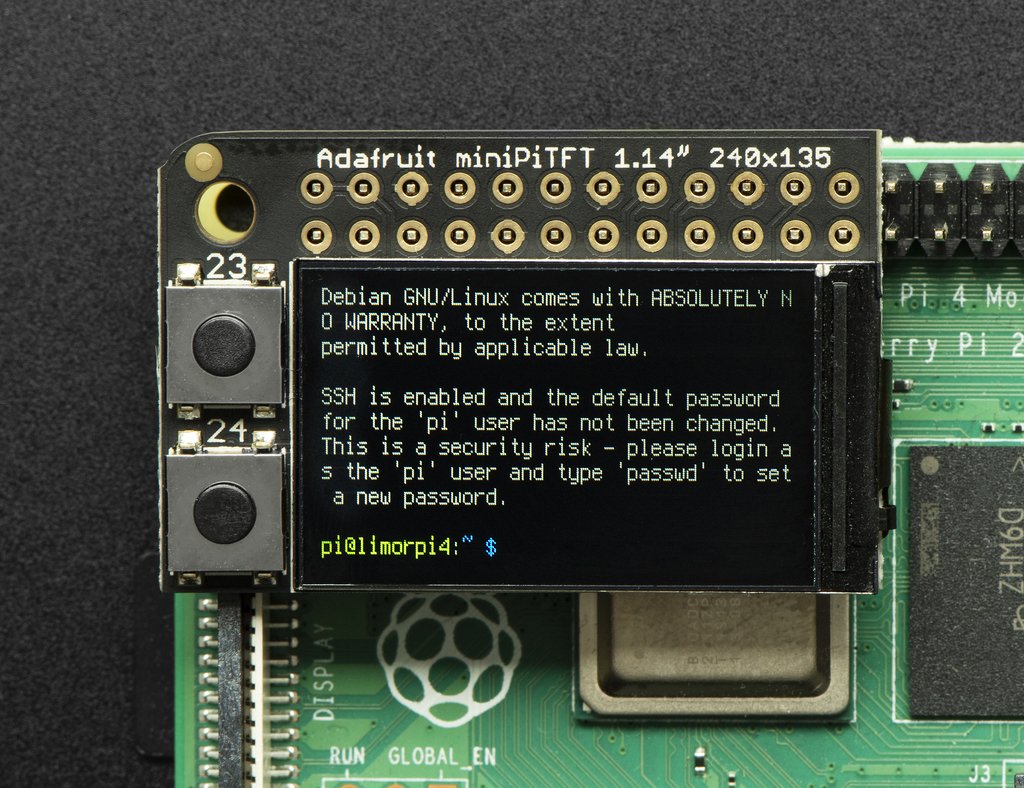
- Zat's it! You will now have the miniPiTFT with a console display on it
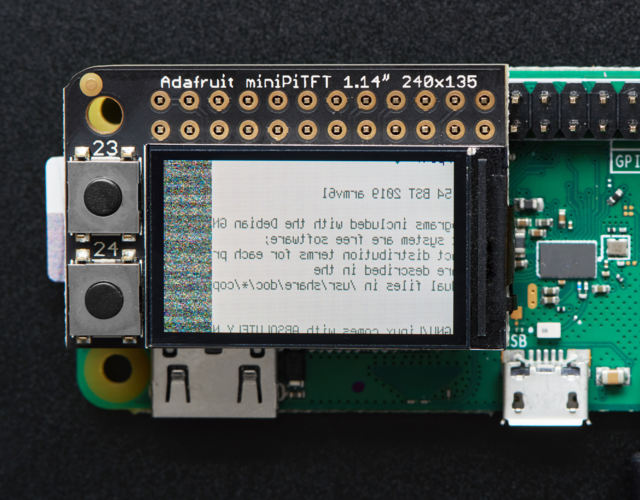
- If you ever get a display like this, it means your kernel changed - either due to an upgrade/update or because you switched Pi boards. The solution is to simply re-run the scripts above!
TAG:
Electronic EYE 0.71inch Round LCD Display Screen For Arduino Raspberry Pi ESP32 Pico STM32
ESP32 C3 LCD Development Board 1.3 inch Display Screen ST7789 240x240 3D Transparent Refractive Prism Mini TV For Arduino
Pan-Tilt Kit
Raspberry Pi Pico 2 RP2350 Core A Development Board RP2350A
Raspberry Pi Pico RP2040 C Environment Window
Raspberry Pi 5 POE PCIe To M.2 E KEY NGFF WIFI7 WIFI6 For BE200/AX210/AX200/RTL8822CE
Raspberry Pi Pico 2 RP2350B 2.8 inch LCD Development Board RGB Display Round TouchScreen 480x480 LVGL QMI8658 / SD / RTC
Luckfox Pico
Rockchip
ESP32-S3FH4R2 Matrix 8x8 RGB-LED-WiFi Bluetooth QST Attitude Gyro Sensor QMI8658C Arduino Python
Jetson Orin Nano UGV Beast PT ROS2 AI OpenCV Robot Car MediaPipe
Raspberry Pi
Raspberry Pi 5 PCIe to SATA Expansion Board with EEPROM HAT+
ESP32 1.44inch LCD
Industrial Modbus RTU 8 ch Relay Module
Milk-V Duo Code
Core3566104000
RS232 to Ethernet
Raspberry Pi 5
Raspberry Pi 5 Case
TAG:
Raspberry Pi 4 Sound Card
Raspberry Pi 4inch DSI Round LCD Display MIPI IPS 720xX720 Capacitive Touchscreen
Raspberry Pi 1.3inch LCD
Raspberry Pi 5 USB Audio
DC-DC step-down mini
7.5 inch Passive NFC e-Paper V2 BW Display 7.5inch E-ink Screen No Need Battery Wireless Powered Data Transfer For Mobile APP
Sipeed Lichee Tang Nano1K FPGA GW1NZ-1
ESP32-P4 DEV-KIT C6 WiFi6 MIPI DSI 7/10.1 inch Display/CSI Camera/Audio Speaker For AI Deepseek
Computer USB Monitor Screen
Creative minimalist ornaments
Knob screen
Pi5 Official Active Cooler
Industrial UART USB 4CH Serial Converter FT4232HL RS232/485/422/TTL
ESP32 S3 2.8 inch Round LCD Display 480x480 QMI8658 Gyro Sensor Micro SD MP3 Speaker audio Battery LVGL HMI Arduino
Raspberry Pi 5 Active Cooler Argon Thrml Pi5 30mm Fan Heatsink
Raspberry Pi Pico 2 RP2350 Core A Development Board
D-Robotics RDK S100 Camera Expansion Board MIPI + GMSL Interface
Raspberry Pi 5 MIPI Cable
Raspberry Pi Pico 2 RP2350 Core2350B Core Board PSRAM
Raspberry Pi CM5 Mini Base IO Board NANO B Development For Compute Module 5


