- sales/support
Google Chat:---
- sales
+86-0755-88291180
- sales01
sales@spotpear.com
- sales02
dragon_manager@163.com
- support
tech-support@spotpear.com
- CEO-Complaints
zhoujie@spotpear.com
- Only Tech-Support
WhatsApp:13246739196
- Purchase/Shipping/Refund
WhatsApp:13424403025
Putting the UF2 file into the pico
(1) Download, compile and run the Pico HDMI Board sample program: (Download:)
cd ~/Pico HDMI Board /software/build
sudo rm -rf ./*
export PICO_SDK_PATH=../../pico-sdk
(Based on your actual download path, this path means that the pico-sdk path is below the previous directory of the compilation folder.)
cmake -DPICO_COPY_TO_RAM=1 ..
make -j$(nproc)
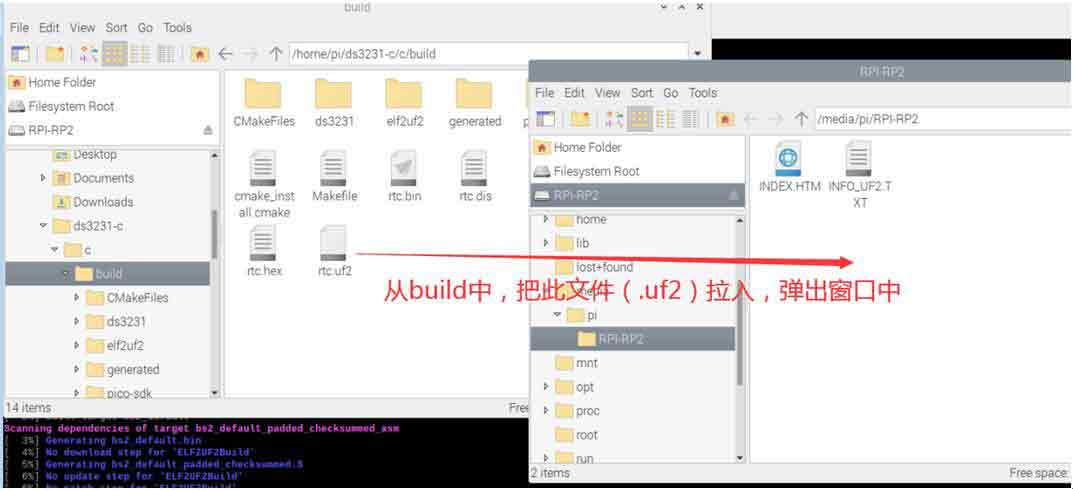
After that, uf2 files will be generated under build.
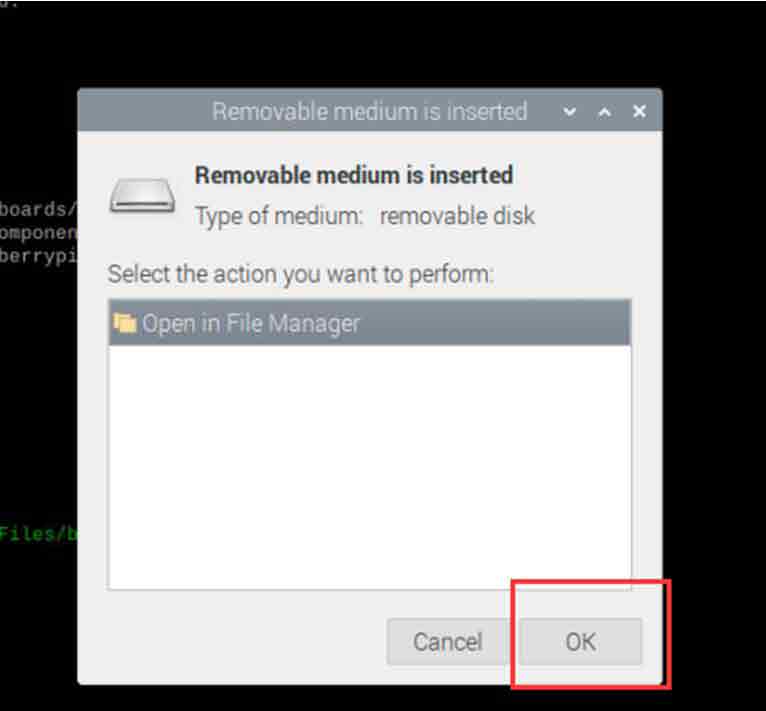
(2) Press and hold BOOTSEL of Pico, connect Pico to USB of Raspberry Pie with Micro USB cable, and then release it.
Open the build folder in the actual program folder and pull the main.uf2 file into the window above.
Phenomenon:
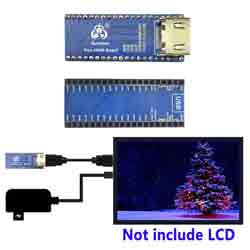
Run the screen program, and the picture can be seen on the screen.