


- sales/support
Google Chat: zj734465502@gmail.com
- sales
+86-0755-88291180
- sales01
sales01@spotpear.com
- sales02
dragon_manager@163.com
- support
services01@spotpear.com
- CEO-Complaints
manager01@spotpear.com
- sales/support
WhatsApp:13246739196
Joystick for micro:bit User Guide
Introduction
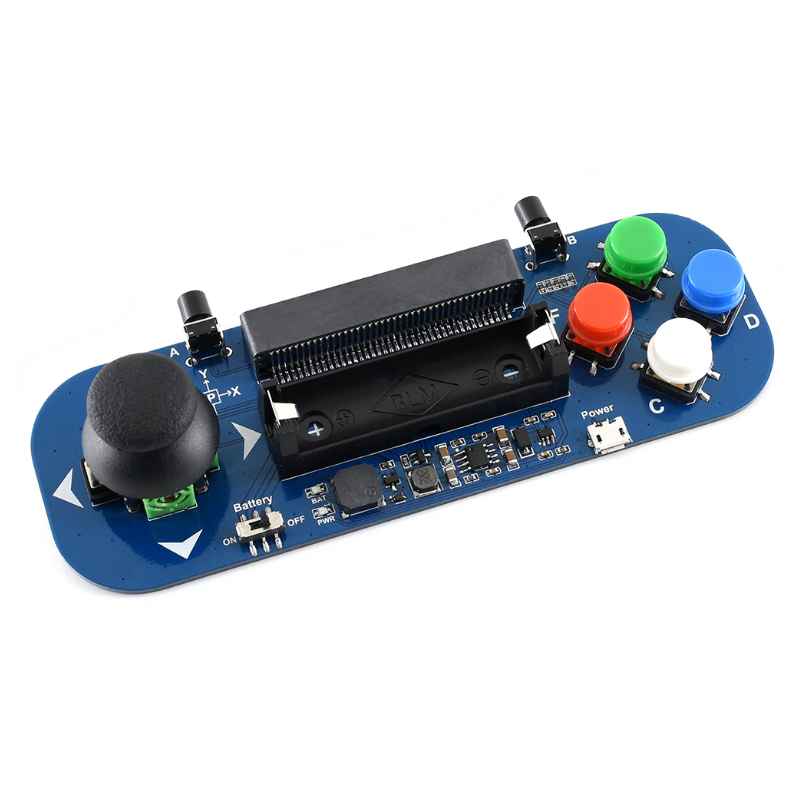
Gamepad expansion module for micro:bit. Onboard joystick and buttons.Powered from battery, also charges the battery
This product is a game handle expansion board specially designed for Micro:bit. Its shape and key design of a handheld game console can play music, supply battery power, and recharge batteries.
Give full play to your intelligence, programming your own creative handheld arcade game. Let‘s do it!
Features
- Micro:bit interface: Directly inserted into micro:bit
- High quality joystick: Two analog outputs, can locate the rocker position accurately. One digital output
- Battery socket: Rechargeable battery can be used to power nodule, which could also be charged by USB via charging circuit
- Battery indicator: Flashes 1/2/3/4 times corresponding to a power indication of 25%/50%/75%/100% respectively
- 4 color buttons
- 2 buttons on each side: Corresponding to the A/B keys of micro:bit
- Buzzer can be used to play background music or game sound effects
Specification
- Operating voltage: 5V
- Batteries: 14500 lithium batteries
- Dimension: 150mm x 50mm
Interfaces
| Name | PIN | Function |
|---|---|---|
| A | Pin5 | Button A |
| B | Pin11 | Button B |
| C | Pin15 | Button C |
| D | Pin14 | Button D |
| E | Pin13 | Button E |
| F | Pin12 | Button F |
| X | Pin1 | Joystick X |
| Y | Pin2 | Joystick Y |
| P | Pin8 | Joystick Press |
| Buzzer | Pin0 | Buzzer |
The Program
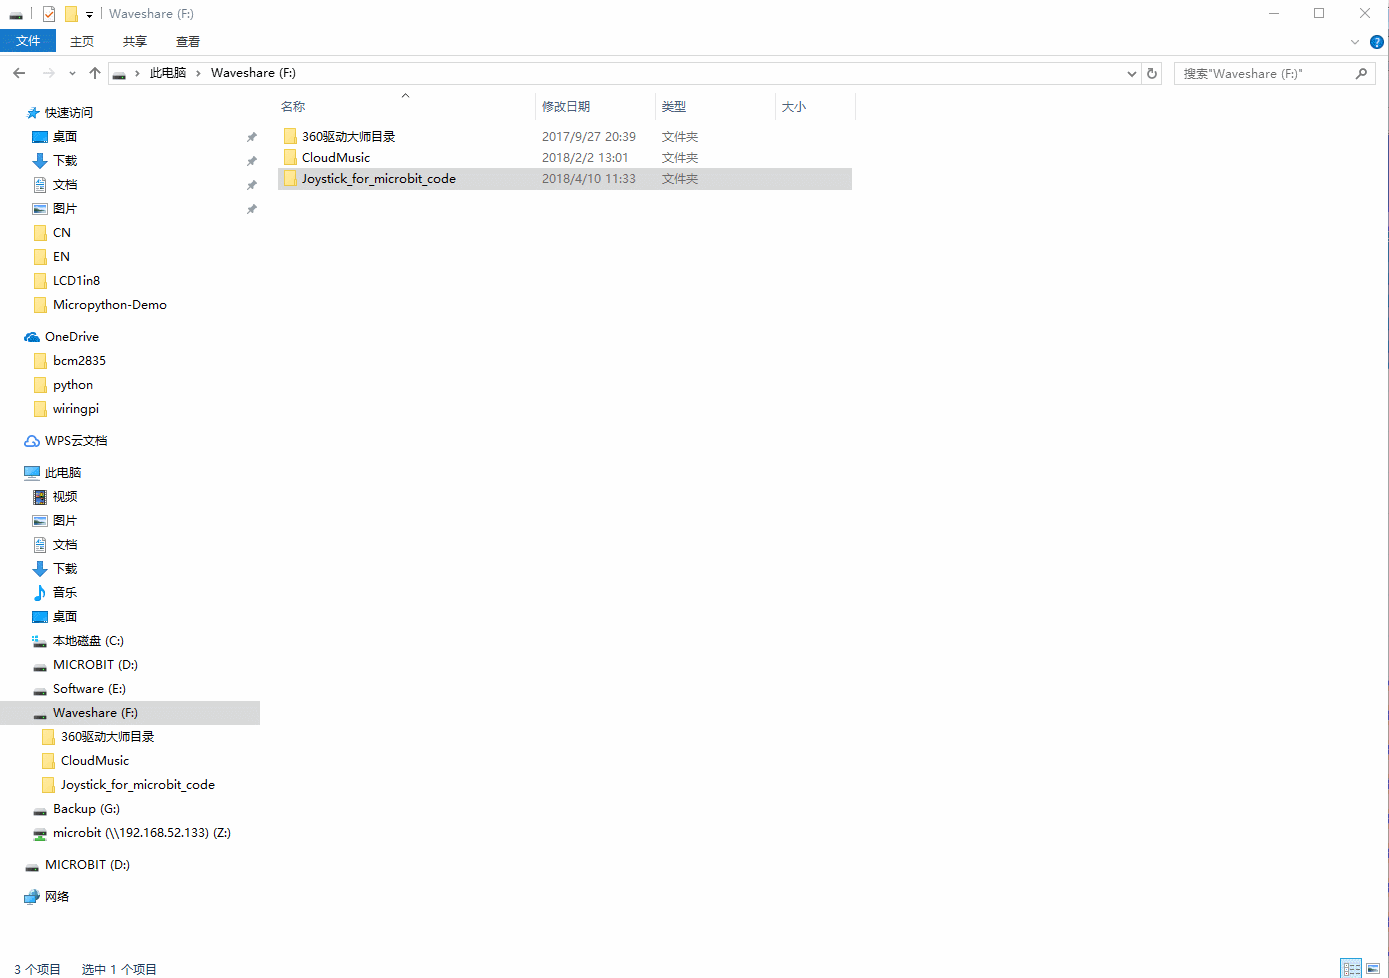
Download the program and extract the following tree folder directory as follows
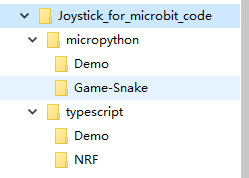
There are two kind of routines: one of them uses micropython programming code. Inside this folder it holds a demo and some greedy snake game procedures
Another kind is using graphical programming (typescript), which inside is a demo for use, and a wireless sample program:
- micropython/Demo: micropython example programs
- micropython.Game-Snake: micropython greedy snake program
- typescript/Demo: Graphical programming sample program.It is an already complied binary HEX file
- typescript/NRF: Wireless testing program fro graphic programming. It requires two micro:bit to verify
effectivity. It contains a sender/receiver program, Note that you'll need to burn these two parts into 2 different micro:bit boards.
Programming Guide
Micro:bit have several kinds of programming, like mbed, micropyton, typescript and so on. The official recommendation are two: typescript and the micropython.
typescript
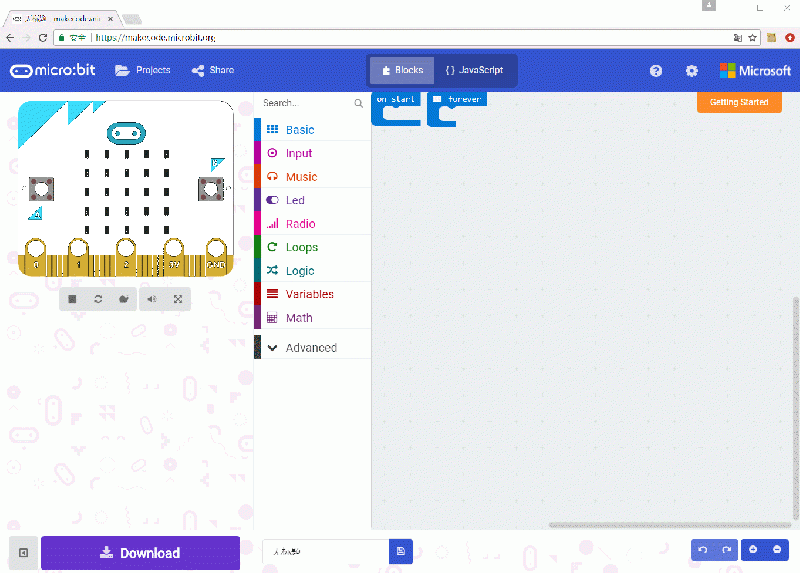
The website of typescript: https://makecode.microbit.org/#
Open browser and type the address:
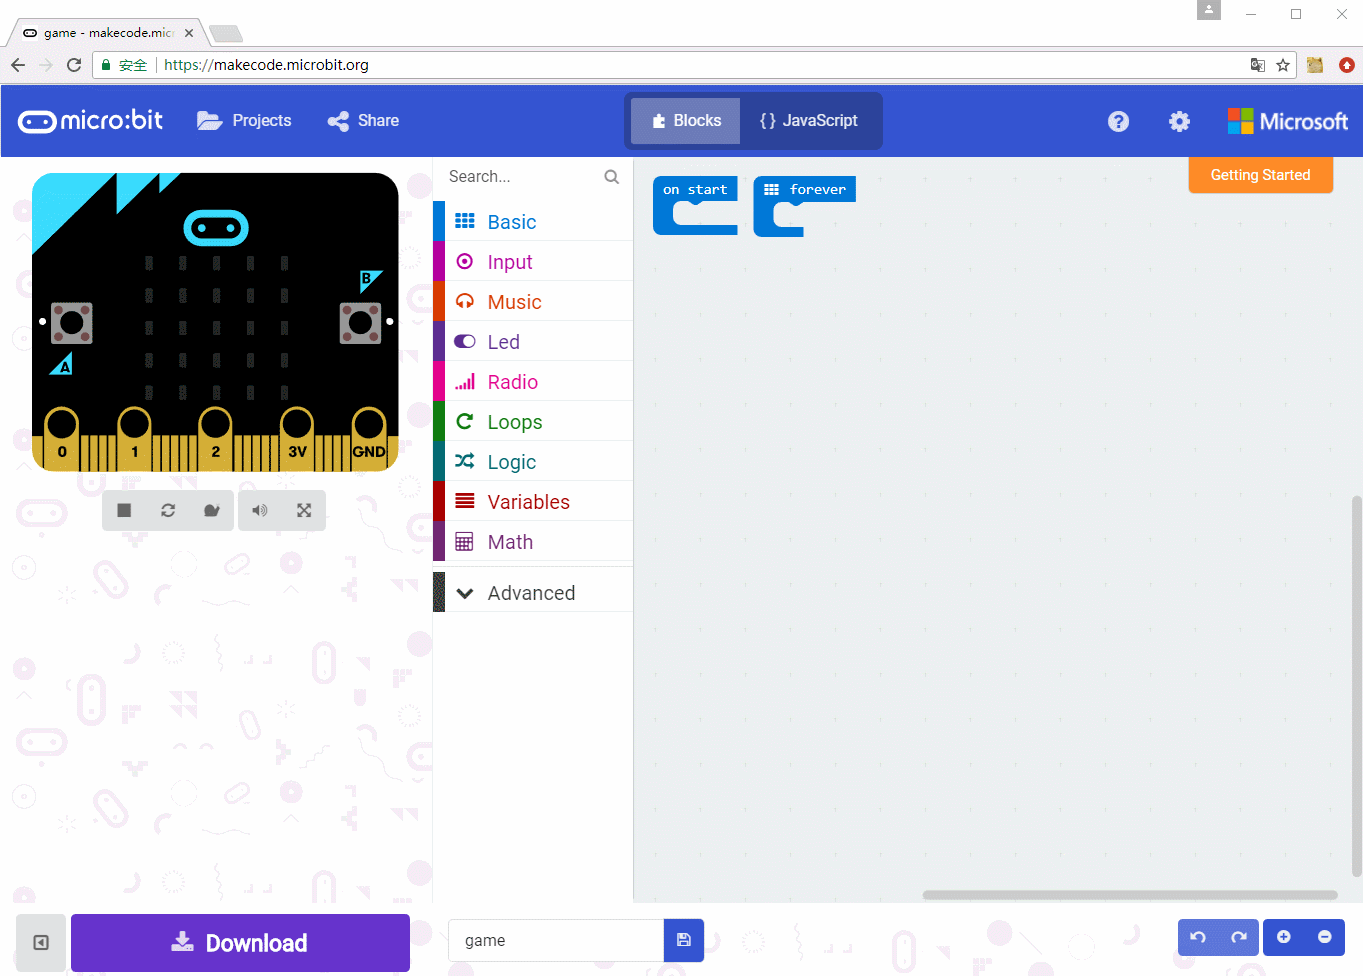
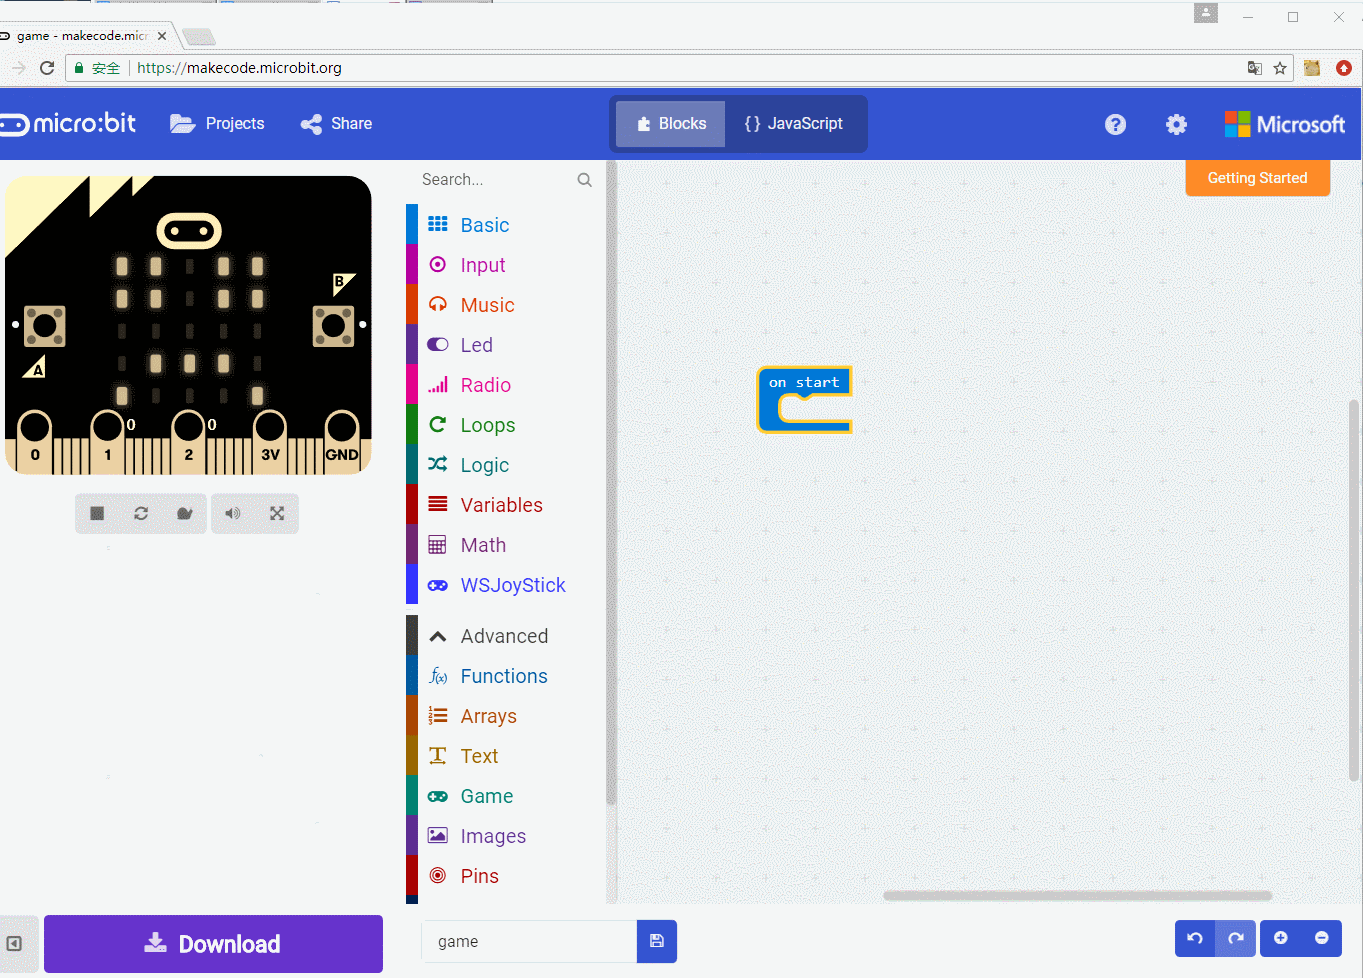
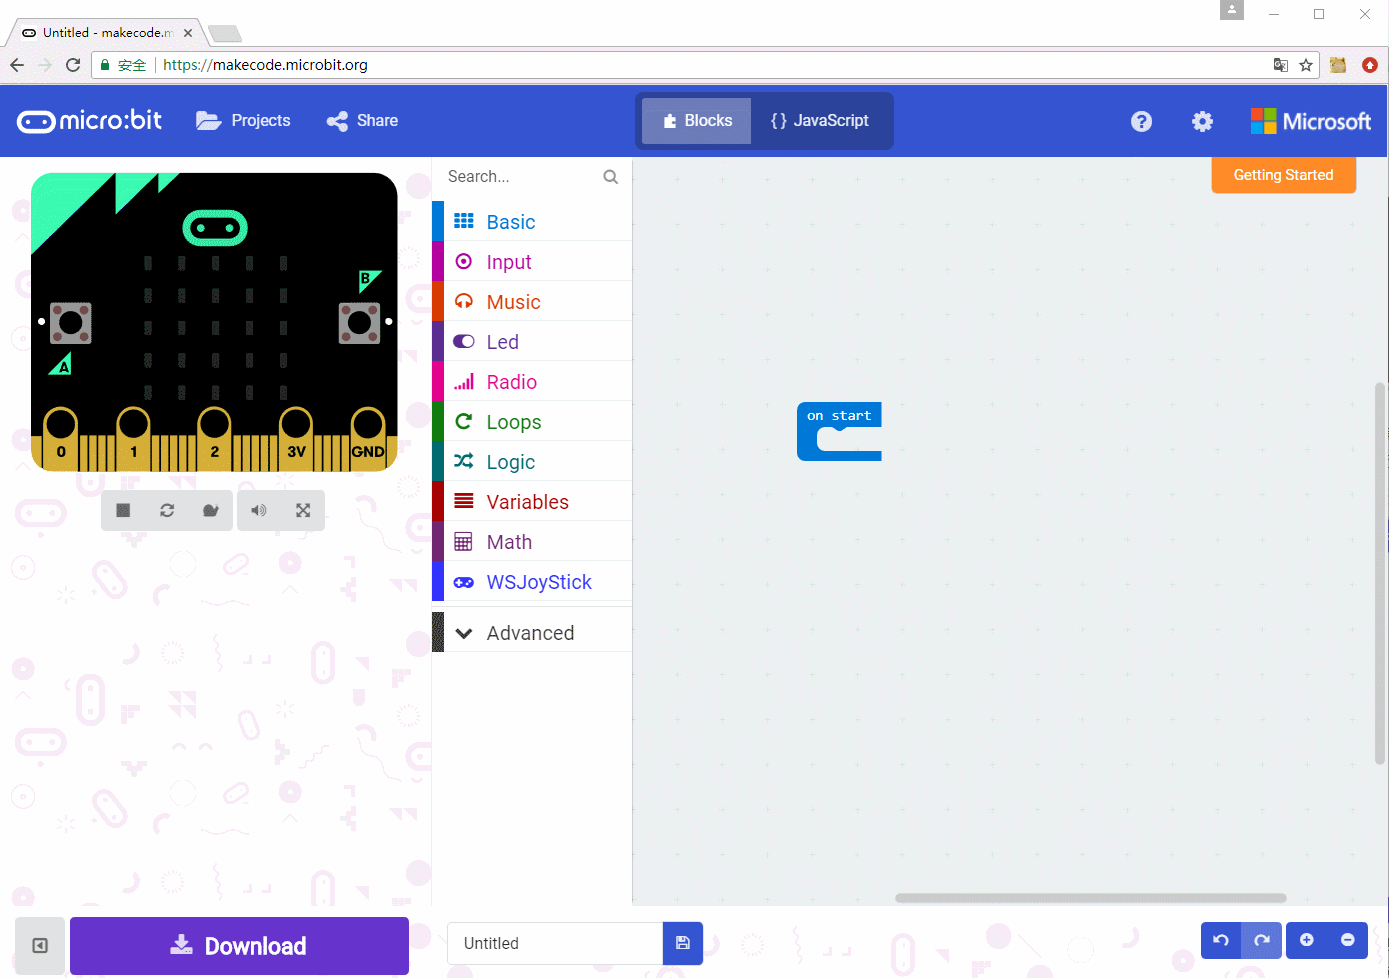
1. Create a project: Click on Projects -> New project. Below you will see “Untitled”. Click in and rename it to “game”. Of course, you can use any name you wish for this project.
To add the package, you can download the libraries we provide from GitHub:
Click Advanced -> + Add package, or click on the gear icon of the top-right -> Add package. In the pop-up dialog box, click the search field box to copy the URL: https://github.com/waveshare/JoyStick
Note: Note that the end of the link needs to be added a space, otherwise it may not be indexed to:
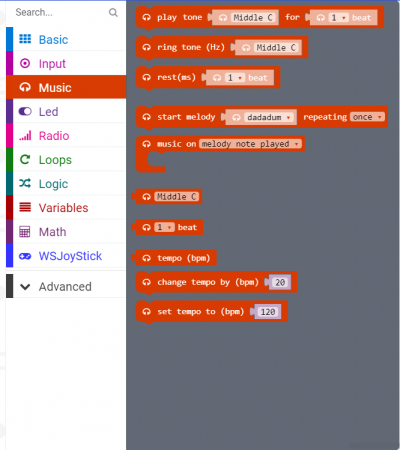
Clicking WSJoyStick can be seen as follows:
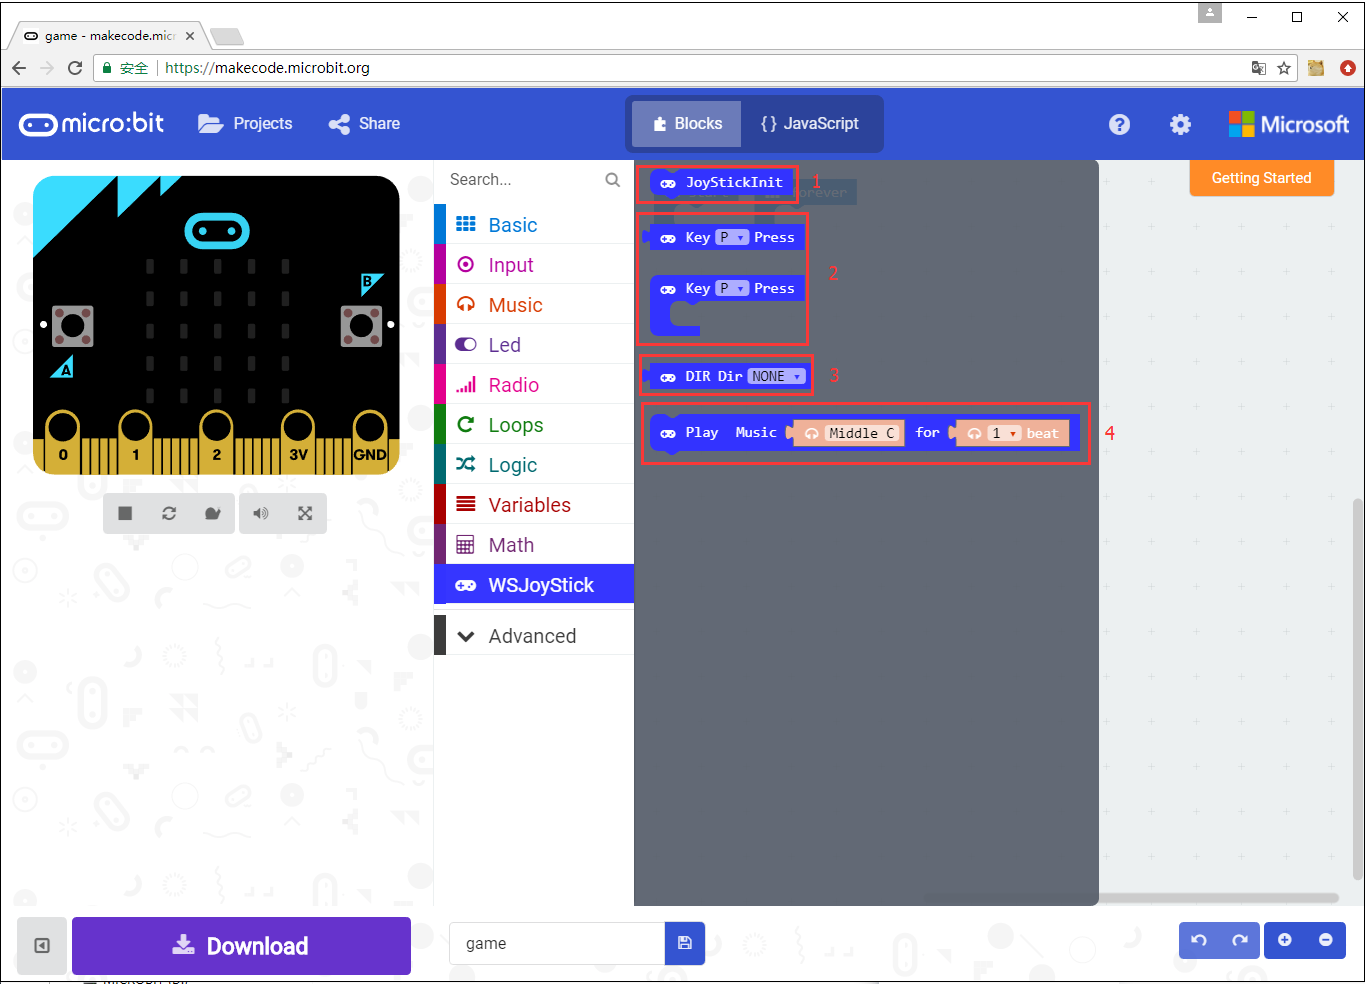
The functions of each block are as follows:
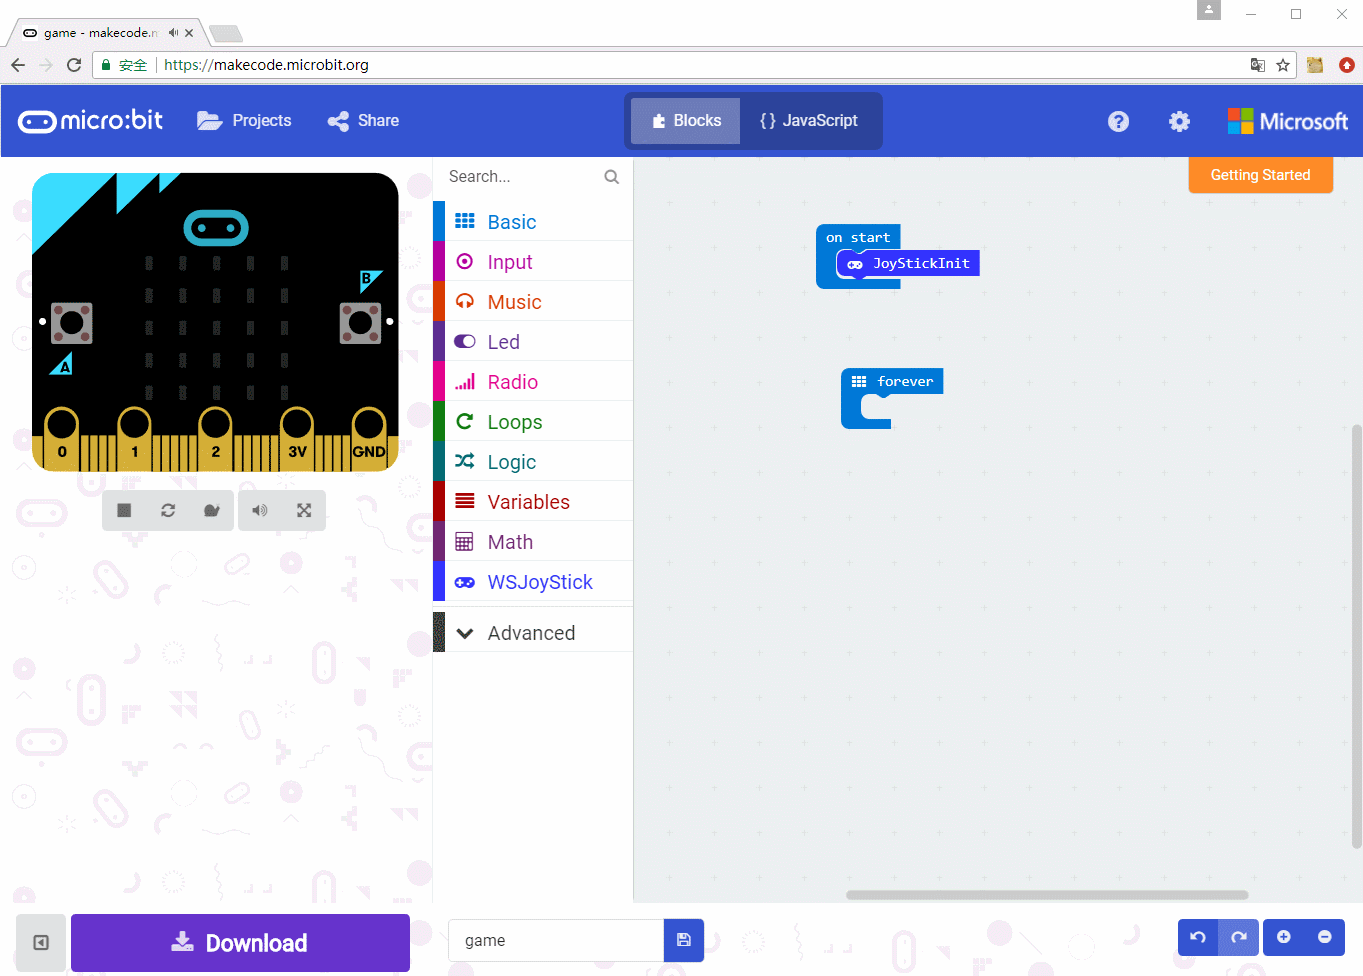
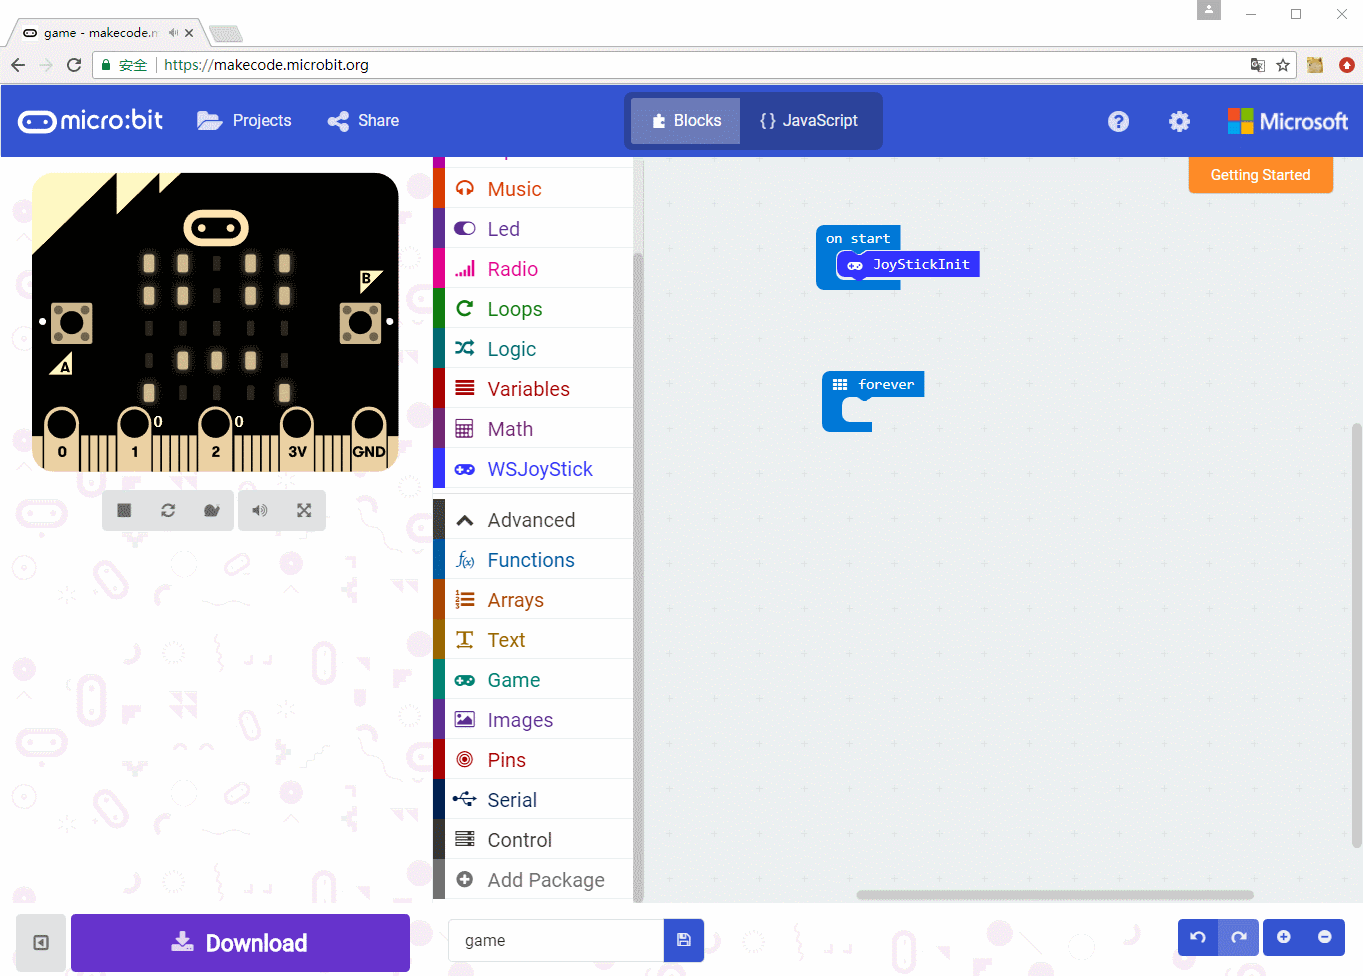
1. Initialization:
This module requires previous initialization of the block. In this block there are five keys (except for A key) which executes pull-up and read joystick state. This state value is used to test any current operation done on the joystick position. If the initialization process is not complete, at moving the joystick, it might not judge a current position state. To fix this, don’t move the joystick and reset micro:bit to restore it back.
2. Button monitoring
We provide two ways of monitoring, each of which has its own advantages
The first one is used with "if" that process non-real-time events. These kind of events usually have delays
Second one, does not need “if”. It is similar to “on button A pressed” block of input category. This is an interrupt handling mechanism, which cannot be delayed, and the real-time performance is relatively strong.
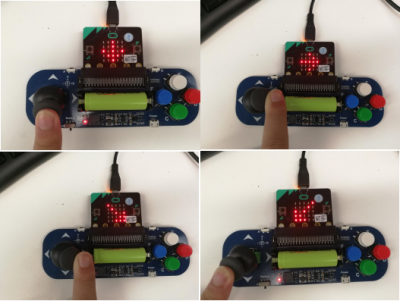
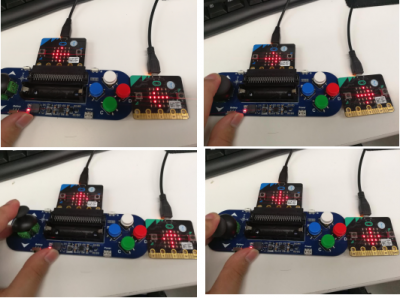
Expected result: When pressing the joystick, micro:bit will light up a “P” letter.

3. Moinitoring the joystick
If initialization is done before the block is used, at moving the stick to a direction, this will return its corresponding logic value TRUE.
Place in sequence 8 directions as follows for judging each direction,

Expected result: As you push the joystick, micro:bit display will show an arrow corresponding to the selected direction.
4. Controlling the buzzer
There are two ways to control the buzzer. The first is to use the blocks we provide, and the second one is to use micro:bit's own music library.
At first we’ll use our block, which is quite the same as micro:bit.
The first parameter selects the note, and the second parameter selects the beat.
Place them in turn as follows:
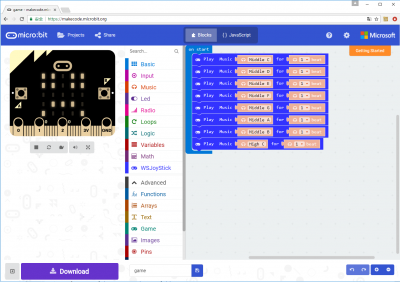
Expected result: Download the program to the module, will make the onboard speaker sound.
The second one is about using micro:bit's own music blocks, which are compatible with the pins.
It's the same as the one above.
You might be willing to use other blocks as well, next we show you more blocks are as follows
5. Verifying Demo
- Open the Typescript-Demo which holds the microbit-joystickdemo .Hex file. You can copy it directly to the micro:bit connected to the computer. You can also download it from the last edition of MakeCode.
- Download directly to micro:bit:
- Connected Micro :bit to the computer by USB cable. Your computer will recognize a USB flash drive as MICROBIT of about 8MB space. Now copy the microbit-joystickdemo .Hex file to the this USB flash disk.
First upload to Makecode, then download:
micropython
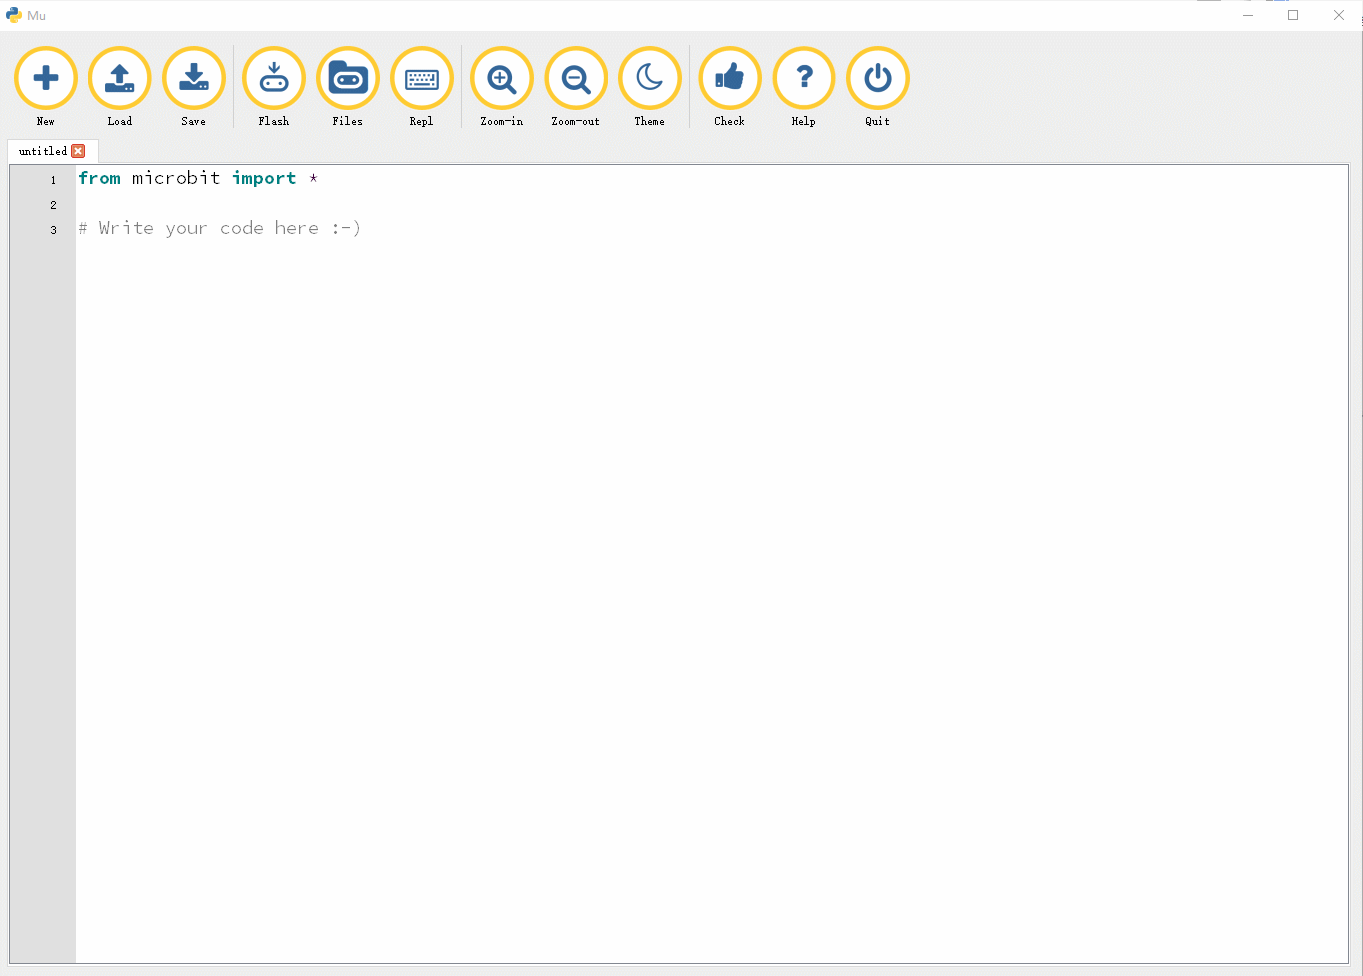
This kind of programm, you can use the official programming website or download the programming tool Mu.
The online programming website: https://codewith.mu/#download
The outline programming software: https://codewith.mu/#download (you can also download it on resources part this page)
Open the software

On the Mu interface, click Load button to upload WSJoyStick.py to the editor.
In the program you can see the following methods implemented:No initialization is needed when using micropython, because this step has been done when instantiation happens.
- Listen_Dir (Dir): monitor the direction of the joystick.
- Listen_Key (Key): monitor keys
- PlayScale (freq): playing the sound of user defined note
- Playmusic (tune): play music/melody
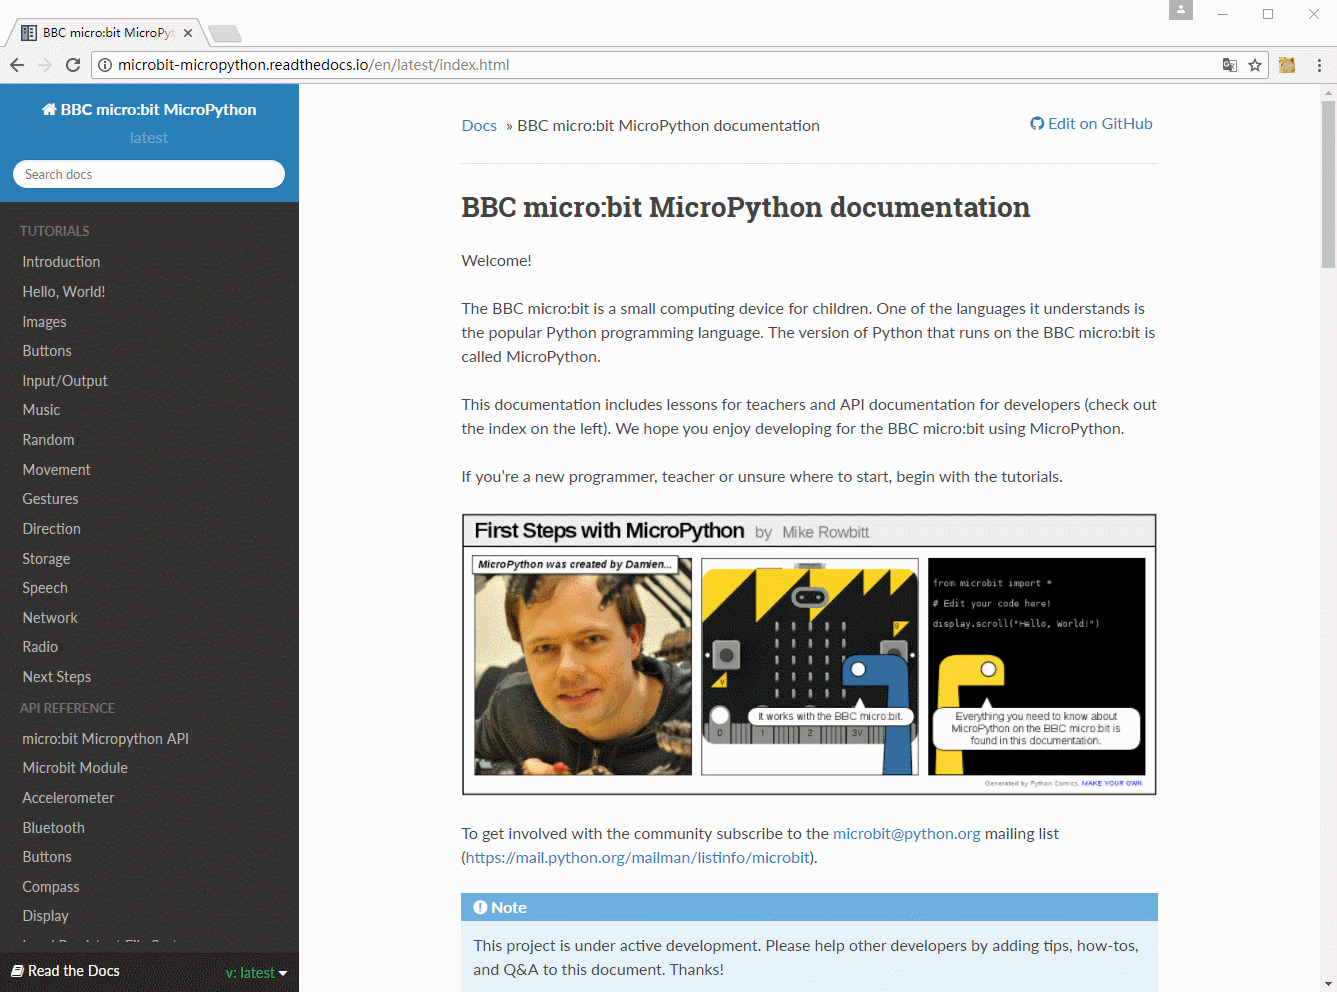
For more details about programming please refer to the python libraries of micro:bit: https://microbit-micropython.readthedocs.io/en/latest/index.html
Offline program
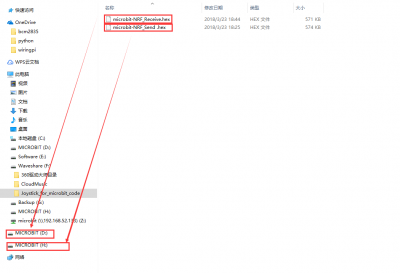
For this you will required 2 micro:bit to utilize the typestript example:
Open the program in the folder typescrime-nrf:
You will find a file named NRF_Send.ts, and another one NRF-Receive.ts.
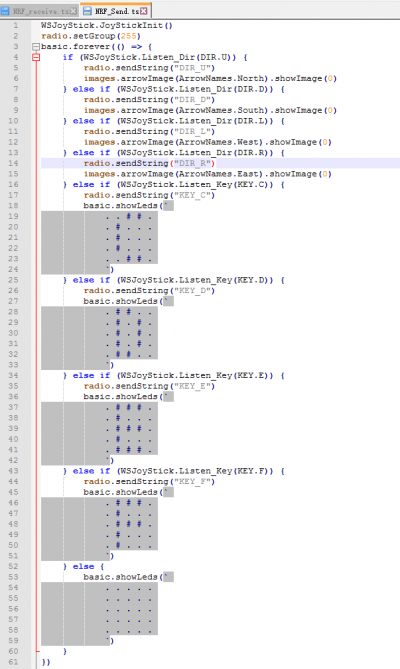
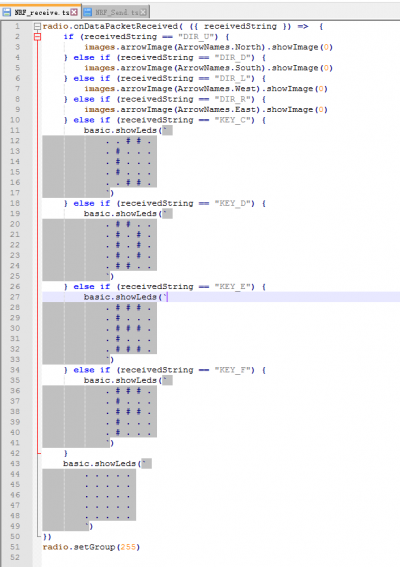
Communication key relays on setting up one group only: radio.setGroup(255)
Burning microbit-NRF_Send.hex code on one micro:bir board, and burninig microbit-NRF_Receive.hex code on another board
Expected Result:
Snake Program
The snake program uses the following example code to illustrate it’s use with micropython:
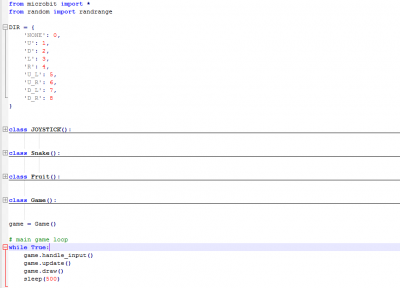
Greedy snake game is made up of three parts: action, snake and food.
JOYSTICK: Monitors the movement of the JOYSTICK. Using Python to apply control, if we insert the program code of the joystick completely, it would cause memory overflow, so we only leave the control part. Snake: to realize the change of the length of the Snake, the position of the head of the Snake changes with the movement direction;
Fruit: Refreshes food position;
Game: Initialize the snake, food, and joystick, and monitors the joystick status direction to control the snake, realizing snake's movement, drawing the snake and other functions.
Meanwhile this is on “while true” value, the listener moves updating and redrawing the snake every 0.5 seconds, until the snake hits its body to end the game and prints the score.