


- sales/support
Google Chat: zj734465502@gmail.com
- sales
+86-0755-88291180
- sales01
sales@spotpear.com
- sales02
dragon_manager@163.com
- support
tech-support@spotpear.com
- CEO-Complaints
zhoujie@spotpear.com
- sales/support
WhatsApp:13246739196
Jetson Nano IMX219-160 IR-CUT Camera User Guide
Introduction
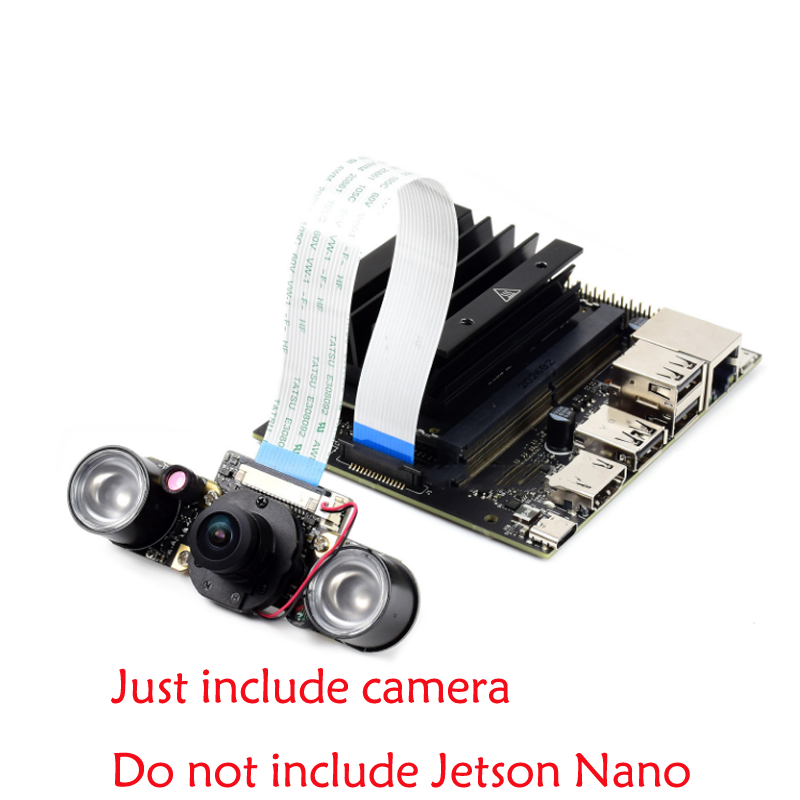
IMX219 Camera, 800 megapixels, and 160 FOV. have IR CUT Compatible with Jetson nano. You can also use it with CM3/CM3+ expansion boards like Raspberry Pi Compute Module IO board, Compute Module IO Board Plus, Compute Module POE Board of Waveshare, and the StereoPi board.
Test with Jetson Nano
Hardware connection
- Connect the camera to CSI interface of Jetson Nano.Set the metal side of FFC into Heat-sink
- Connect an HDMI LCD to Jetson Nano
Software setting
- Power on Jetson Nano and open the Terminal (Ctrl+ALT+T)
- Test camera with command:
DISPLAY=:0.0 gst-launch-1.0 nvarguscamerasrc ! 'video/x-raw(memory:NVMM), width=3280, height=2464, format=(string)NV12, framerate=(fraction)20/1' ! nvoverlaysink -e
- Test dual-camera
- IF you want to test dual cameras with B01 Developer Kit.You can just add sensor-id=x to the pipeline. x can be 0 or 1.
#test video0
DISPLAY=:0.0 gst-launch-1.0 nvarguscamerasrc sensor-id=0 ! 'video/x-raw(memory:NVMM), width=3280, height=2464, format=(string)NV12, framerate=(fraction)20/1' ! nvoverlaysink -e
#test video1
DISPLAY=:0.0 gst-launch-1.0 nvarguscamerasrc sensor-id=1 ! 'video/x-raw(memory:NVMM), width=3280, height=2464, format=(string)NV12, framerate=(fraction)20/1' ! nvoverlaysink -e
- If you find that the image captured is reddish. You can try to download .isp file and installed:
wget https://www.waveshare.com/w/upload/e/eb/Camera_overrides.tar.gz
tar zxvf Camera_overrides.tar.gz
sudo cp camera_overrides.isp /var/nvidia/nvcam/settings/
sudo chmod 664 /var/nvidia/nvcam/settings/camera_overrides.isp
sudo chown root:root /var/nvidia/nvcam/settings/camera_overrides.isp
Test with Compute Module
The IMX219 series can be used with Compute Module series of Raspberry Pi with carriers. And the usage are same as other Raspberry Pi cameras
Becuase of the encropytoin, the IMX219 series cameras cannot be used with Raspberry Pi board like the Raspberry Pi 4B, please note it.
- Connect the camera to Compute Module Carrier board (like Compute Module 4 PoE Board), please take care of the direction.
- Open a terminal and configure the camera
sudo raspi-config
- Select Interfacing Options -> Camera -> Yes
- Reboot
- Test the camera with command:
sudo raspistill -t 0
- For more information about commands for camera, please refer to this guides:Application guides of Raspberry Pi camera
Selection Guide
| Product | Pixels | Sensor | Dual Len | Infrared | Angle of View (Diagonal)(degree) | Afterture (F) | Focal Length (MM) | PCBA | Suit for |
|---|---|---|---|---|---|---|---|---|---|
| RPi Camera | 8 Mega | IMX219 | × | × | 62.2 | 2.0 | 3.04 | √ | Raspberry Pi, Jetson Nano |
| RPi NoIR Camera V2 | √ | 62.2 | 2.0 | 3.04 | √ | Raspberry Pi, Jetson Nano | |||
| IMX219-77 Camera | × | 77 | 2.0 | 2.96 | √ | Jetson Nano, CM3/3+ | |||
| IMX219-77IR | √ | 77 | 2.0 | 2.96 | √ | Jetson Nano, CM3/3+ | |||
| IMX219-120 Camera | × | 120 | 2.2 | 1.88 | √ | Jetson Nano, CM3/3+ | |||
| IMX219-160 Camera | × | 160 | 2.35 | 3.15 | √ | Jetson Nano, CM3/3+ | |||
| IMX219-160IR Camera | √ | 160 | 2.35 | 3.15 | √ | Jetson Nano, CM3/3+ | |||
| IMX219-160 IR-CUT Camera | √ | 160 | 2.7 | 3.62 | √ | Jetson Nano, CM3/3+ | |||
| IMX219-170 Camera | × | 170 | 2.0 | 0.87 | √ | Jetson Nano, CM3/3+ | |||
| IMX219-200 Camera | × | 200 | 2.0 | 3.15 | √ | Jetson Nano, CM3/3+ | |||
| IMX219-D160 | × | 160 | 2.35 | 3.15 | × | Raspberry Pi, Jetson Nano | |||
| IMX219-83 Stereo Camera | √ | × | 83 | NA | 2.6 | √ | Jetson Nano, CM3/3+ |
TAG:
Industrial Modbus RTU RS485 8-ch 30A High Current Relay Module (E) With Digital Input
Image-Modulation-Tutorial User Guide
Raspberry Pi Pico Screen
Sipeed NanoKVM-USB Finger-sized 4K USB KVM for Server/SBCs
Raspberry Pi Compute Module 5 PoE BASE A IO Board RJ45 For CM5 Lite/eMMC
ESP32 LVGL
Robotic Arm Control
Integrated capacitive fingerprint module Cortex core UART serial port High-precision fingerprint recognition
Raspberry Pi UART
Arducam
RV1103 SC3336
Raspberry Pi 5 inch DSI Display MIPI LCD (C) Capacitive TouchScreen 1024x600
ESP32 P4 Development Board WIFI6 3.4 inch LCD Round Display 3.4inch TouchScreen 800×800 Dual Microphones
ESP32 MLX90641
Servo PWM motor WP5320 WP5335 35/20KG.CM 180° PWM digital servo double ball bearings
Raspberry Pi 1.54inch LCD Bookworm-Desktop Display and Touch
HDMI to RGB
TOF Time of Flight Laser Range Sensor Mini Radar module UART Serial / I2C Port For Arduino / Raspberry Pi / ESP32
Pi5 PCIe
Raspberry Pi 5 Camera User Guide
TAG:
PC Monitor LCD
USB to SPI
ADXL354C Sensor
ESP32 T-ETH-Lite
MG996R Servo Metal Gear High Torque 9/11kg Rotate 180Angle
spotpear
Raspberry Pi Pico DVI
OPS Computer
Milk V
ADXL355BEZ
ESP32-S3 TFT
Luckfox PicoKVM RV1106
Raspberry Pi RTC WatchDog HAT (B)
Raspberry Pi 5 5V5A
Sipeed FPGA Tang Primer 20K Dock Lite 128M DDR3 GW2A-LV18PG256C8/I7
Raspberry Pi 5 Active Cooler
Raspberry Pi Camera
Industrial Gigabit PoE Splitter Options Type-C DC Micro Raspberry Pi WebCamera WirelessAP
Arduino 0.96inch RGB OLED
LuckFox Pico pro