- sales/support
Google Chat:---
- sales
+86-0755-88291180
- sales01
sales@spotpear.com
- sales02
dragon_manager@163.com
- support
tech-support@spotpear.com
- CEO-Complaints
zhoujie@spotpear.com
- Only Tech-Support
WhatsApp:13246739196
- Purchase/Shipping/Refund
WhatsApp:13424403025
- HOME
- >
- ARTICLES
- >
- Common Moudle
- >
- LCD
5. Dispaly Raspberry pi logo User Guide
Dispaly Raspberry pi logo
After CPU Info LCD screen is correctly inserted into the Raspberry Pi, you need to compile and run the program to display it normally. This experiment is used to display the boot time and memory free space of the Raspberry Pi.
1. Install the wringPi library
CPU Info LCD screen is used for data communication through the GPIO port of the Raspberry Pi, so we must install the wiringPi library file.
Enter the following command to install the wringPi library. Users who have already installed the wiringPi library can ignore this step.
cd ~
git clone git://git.drogon.net/wiringPi
cd wiringPi
./build
2.Install Drive
2.1 Transfer the driver file to the Raspberry Pi
You need to install the SSH Secure Shell Client tool on your computer. After connecting to the Raspberry Pi, transfer the cpu_show_logo.zip package from this folder to the pi directory of the Raspberry Pi.
As shown blew, drag and drop cpu_show_logo.zip directly into the Raspberry Pi system.
Download: cpu_show_logo.zip

2.2 Extract file
Open the Raspberry Pi terminal and find the cpu_show_logo.zip file.
Enter command:
ls

Enter command:
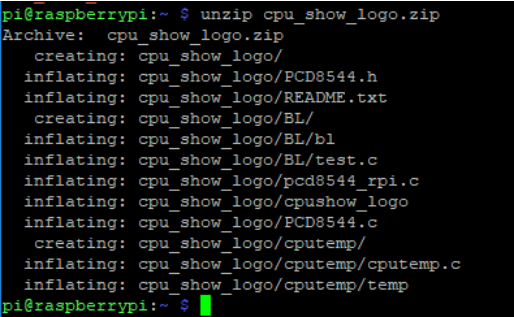
unzip cpu_show_logo.zip
2.3 Enter the program folder
cd ~/cpu_show_logo
ls

2.4Compiler file
Enter command:
cc -o cpushow_logo pcd8544_rpi.c PCD8544.c -L/usr/local/lib -lwiringPi
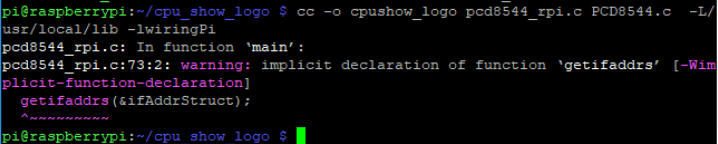
cc is the compile command, -o is the compile parameter, cpushow_temp is the generated program name, pcd8544_rpi.c and PCD8544.c are the source files in the current directory, -L/usr/local/lib and -lwiringPi are referenced libraries file.
2.5 Running procedure
Enter command:
sudo ./cpushow_logo

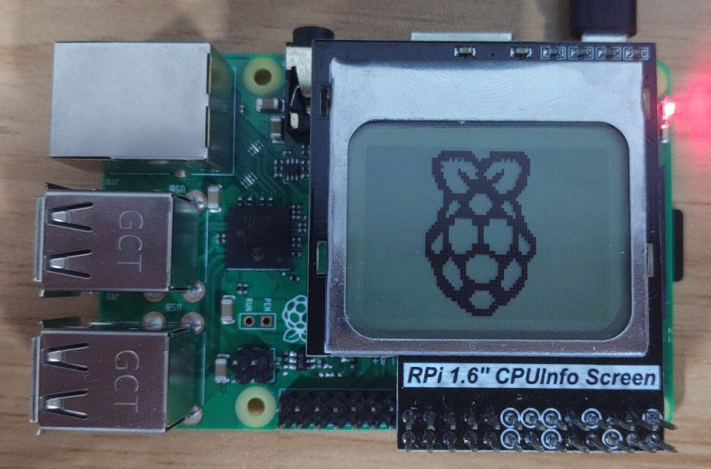
The system will prompt “Raspberry Pi PCD8544 sysinfo display” and display the following on the CPU Info screen.
3. Code analysis
Enter command:
nano pcd8544_rpi.c
This command is to open pcd8544_rpi.c
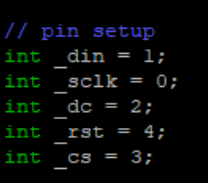
1. The following sections are pin settings. The corresponding relationship of the GPIO ports has been indicated on the back of the LCD.
2.Main function
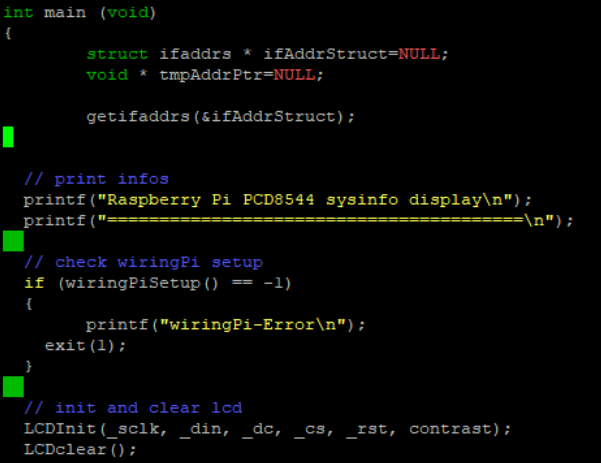
3.The front part is the initialize program and the prompt information; the latter part is a for loop, which is display Raspberry logo.
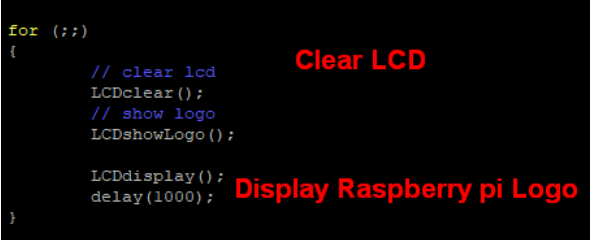
LCDshowLogo() function is used to display the Raspberry Pi logo on the LCD screen, which is defined under the PCD8544.c file. This file also defines the functions displayed on the LCD, as well as letters, numbers, and symbols.
4.Open PCD8544.c file
Enter command:
nano PCD8544.c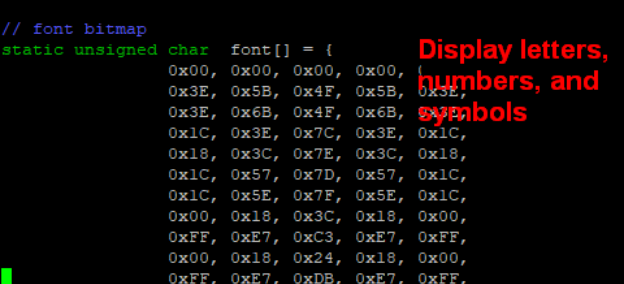
We need to scroll down to find the pi_logo array, where the information about the Raspberry Pi icon is stored.
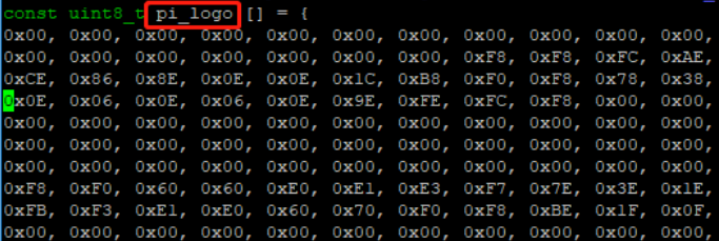
We need to scroll down to find the LCDshowLogo function, where the information about the Raspberry Pi icon is stored.
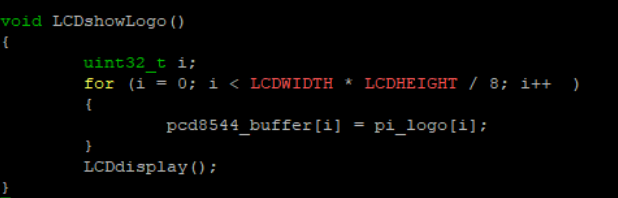
It displays the data of the Raspberry Pi icon on the LCD screen through a for loop.
Note: If you have added the boot-up display program, please edit the rc.local file comment or delete the code related to the display. After restarting, close the running driver and then operate.
If the program that has already been run is not closed, the new program will run and the screen will always change due to the conflict.
The method of modification is as follows:
sudo nano /etc/rc.local
You need to shield the program, which related to the cpu Info LCD (add a # in front of the code to shield the code)
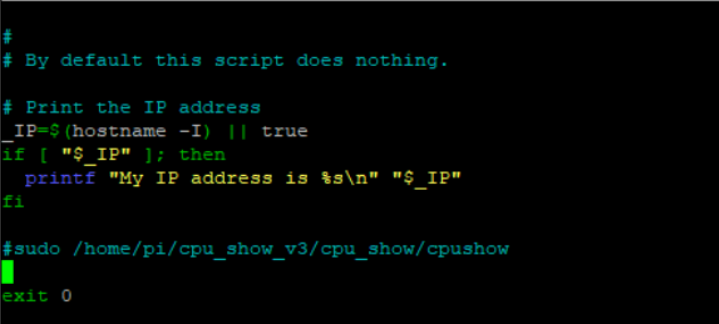
Enter command:
sudo reboot
This command is to restart the Raspberry Pi.