


- sales/support
Google Chat:---
- sales
+86-0755-88291180
- sales01
sales@spotpear.com
- sales02
dragon_manager@163.com
- support
tech-support@spotpear.com
- CEO-Complaints
zhoujie@spotpear.com
- Only Tech-Support
WhatsApp:13246739196
- Purchase/Shipping/Refund
WhatsApp:13424403025
Chapter 2 of KitiBot-Microbit: Keys User Guide
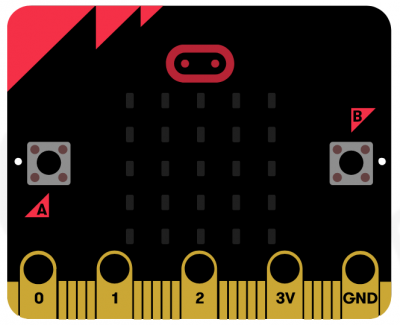
Keys
There are two keys on Micro:bit, A and B. In this Chapter, we are using them.
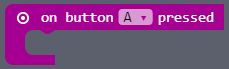
Keys programming we need to use the block "on button .. pressed". With the block, the micro:bit could detect if key A is pressed or if A and B keys are pressed at the same time. If the key is pressed, the scripts in this block will run.
According to Chapter 1, let's learn how to program keys. We try to create a project that LED matrix display A, B and C separately when key A, B, A and B are pressed.
First, create new project. Find block "on button A pressed" in Input class and drag it to the right. Add one string display block. Copy the button and string blocks change for B key and AB keys operation.
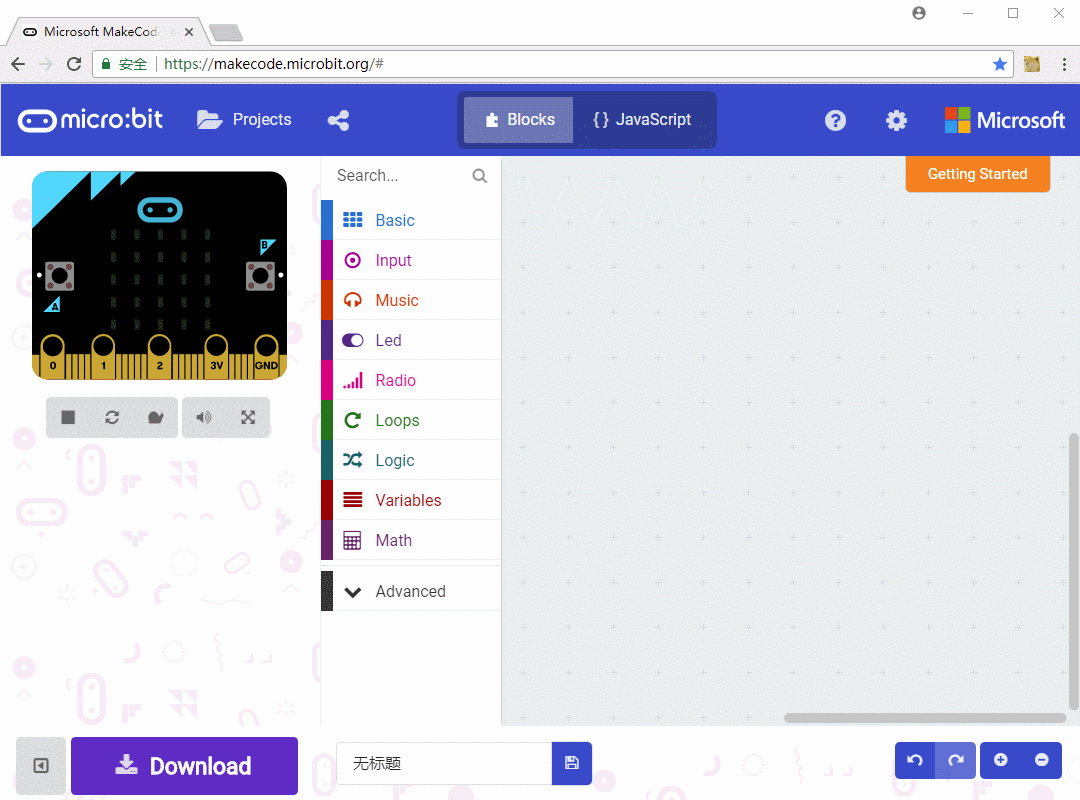
Download the code to micro:bit for testing. You can also check the effect according to left simulate area.
Buttons could also be controlled by another block. Different with the last one, the block we used before run the included program when buttons are pressed. This block will return a value "true" if buttons are pressed, otherwise return value "false"

We create a new project and rewrite it with this block. In this project, we need to use if-else block. If it get ture, the blocks included will run, otherwise the blocks in else will run.
Add blocks that display string when buttons are pressed. You can simulate the effect on the left area
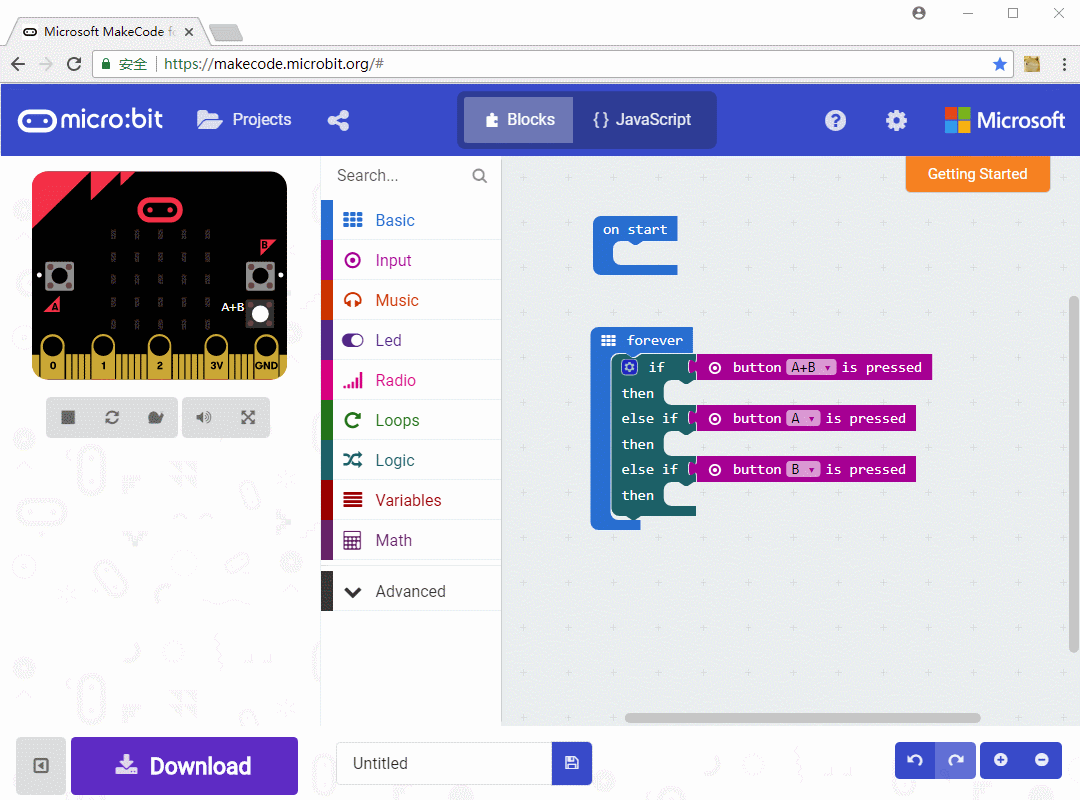
If you are much careful, you will find that the project first detect if A and B are pressed at the same time, then detect if A and B is pressed separately. You can try to change the order to test what will happen if the order is changed